Here you will find out how to work with categories in Magento store.
A Category is needed to establish the structure of your store’s Catalog. Before creating categories you need to think about the usability of your product page, so the user can browse product from one category and easily navigate to different subsections. Try to be consistent and use the same approach for all product types in your catalog.
To create categories, use the admin panel. Below, we will show how to create and add categories, and answer other questions related to working with categories.
How to Create Category in Magento 1
Step 1. On the Admin menu, select Catalog > Manage Categories.
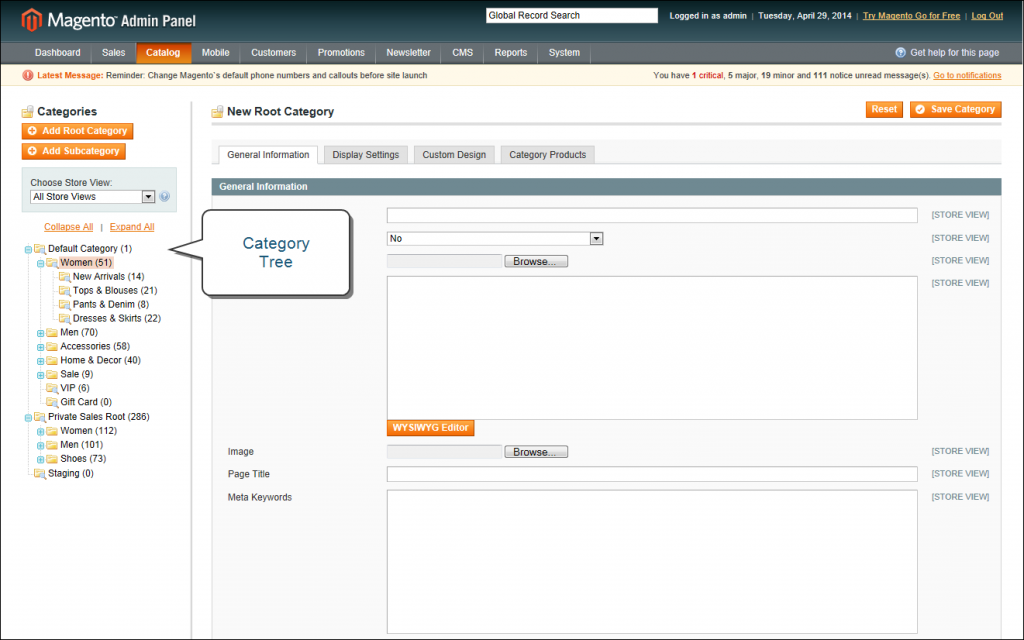
Step 2. Before you begin, set Choose Store View to the store or view. By default, the scope of the category configuration is set to “All Store Views.”
Step 3. In the category tree, click the category that is to be the parent of the new category. The parent is the level just above the new category.
If you’re starting from the beginning without any data, there might be only two categories in the list: “Default Category,” which is the root, and an “Example Category.”
Step 4. Click the Add Subcategory button.

After creating the category, you need to add them to create the catalog structure. Learn how to do it from the below guide.
How to Add Category in Magento 2
Step 1. Login in Magento Admin.
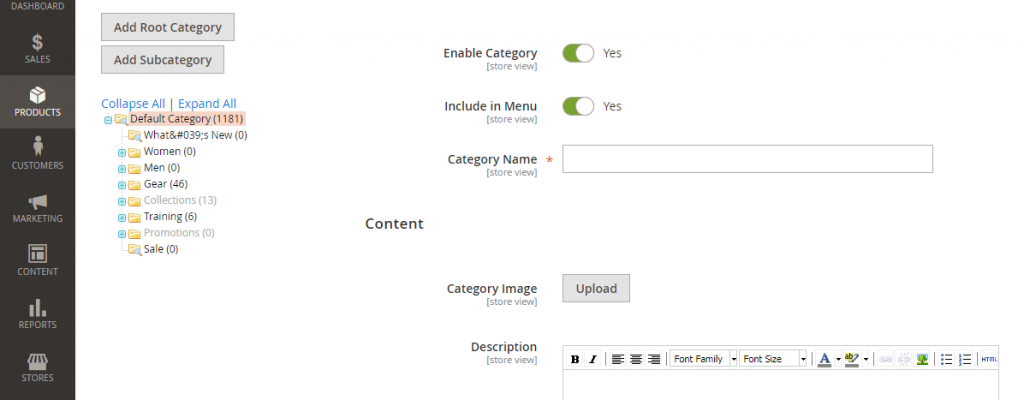
Step 2. Select Products -> Categories.

Step 3. Select Parent or Root Category in which you need to insert your new category and click “Add Subcategory” or you can create Root Category.

Step 4. Enter Category data. Category Name is required entry. Click the Save button.
